 How-to
7 Steps to Remove Scratches From Card Slabs Safely
Last Updated: October 29, 2026
Quick Summary
To remove card slab scratches, first clean the slab with water and a microfiber cloth, then hand polish light surface scratches using a rice-sized dot of plastic polish on a cloth, working in small circular motions with light pressure. Deep scratches that catch a fingernail won't polish out and are best left alone or replaced.
- Run a fingernail test to tell a scratch from a scuff, smudge, or residue before polishing.
- Never use paper towels, glass cleaner, or alcohol wipes near the grade label.
- Apply polish to the cloth, not the slab, and test a corner for 10-15 seconds first.
- Check progress under bright low-angle light every 10-15 passes and stop after five rounds.
- Store slabs upright in individual archival sleeves and handle them by the edges.
Table of Contents
- Diagnose the Mark Before You Touch the Card Slab
- How to Clean Graded Card Slabs Before Any Polishing
- Step-by-Step Hand Polishing to Remove Light Surface Scratches
- PlastX for Card Slab Scratches: What It Can and Cannot Fix
- Rotary Tools, Heat, and Chemical Risks Near Seams and Labels
- When Scratches Are Too Deep and Scratched Slab Replacement Makes Sense
- How to Protect Graded Card Slabs From Scratches Going Forward
- Choosing Sleeves That Keep Your Slabs Clean and Clear
- Frequently Asked Questions
Diagnose the Mark Before You Touch the Card Slab
Most collectors grab a cloth and start rubbing before they know what they're dealing with. That's the first mistake. A mark on a graded card slab can be a scratch, a scuff, a smudge, or leftover residue, and each one needs a different response.
Here's the hard truth: some marks polish out in minutes. Others are permanent, and rubbing them only spreads the problem across a wider area of the slab surface.
Scratch, Scuff, Smudge, or Residue: Telling Them Apart
Run a fingernail test at an angle. A scratch catches your nail and stays put when you wipe. A scuff feels rough but shallow, often from stacking slabs against each other. A smudge wipes away with a dry cloth and leaves no trace. Residue from tape, sticker glue, or fingerprints feels tacky and smears when you rub it.
That single test tells you whether you're cleaning or polishing. Get it wrong and you'll grind grit into the plastic.
Is the Damage in the Plastic or the Card?
This is the question most guides skip. Hold the slab up to a light and tilt it slowly. If the mark moves with the plastic surface, it's in the case. If it stays fixed over the card's image, the problem might be inside the slab or on the card itself.
Watch out: polishing a mark that sits on the card, not the case, does nothing but risk the seal. When a haze won't shift with the light, you may be looking at a blurry-plastic issue rather than damage, so it helps to tell a scratch apart from blurry plastic before you touch anything.
How to Clean Graded Card Slabs Before Any Polishing
Cleaning comes first, always. Polishing a dirty slab pushes grit around and creates new scratches. A common mistake is skipping this step because the surface "looks clean."
Here's the routine we recommend:
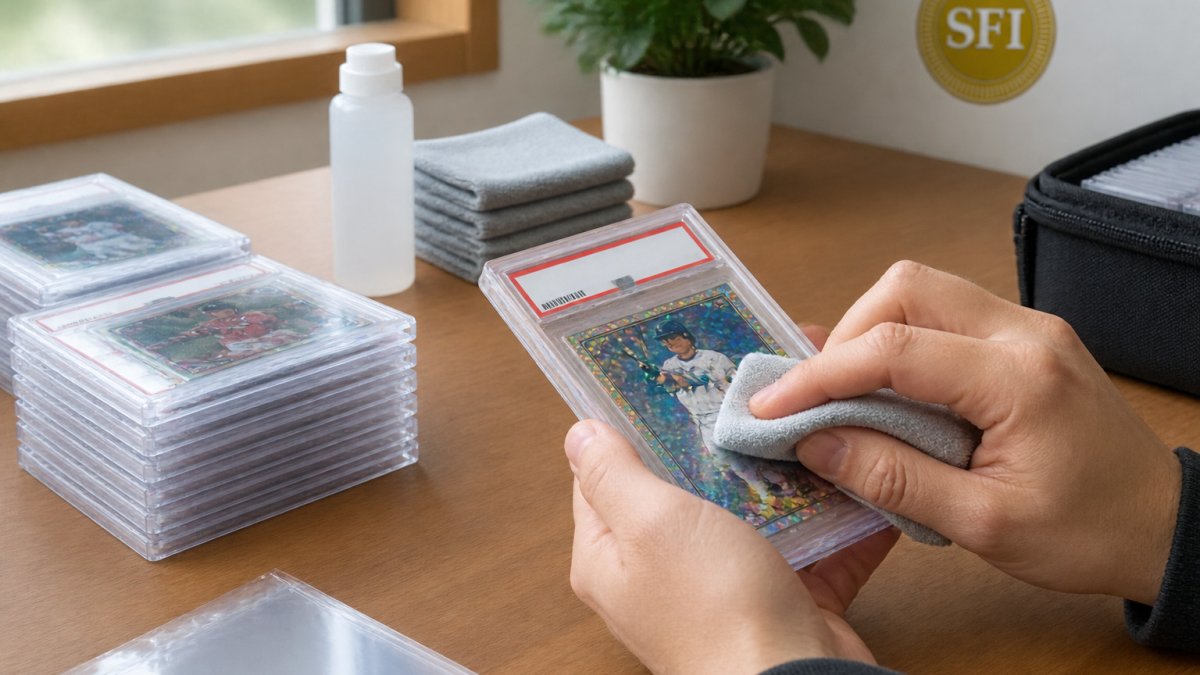
- Wipe the slab with a dry microfiber cloth to lift loose dust
- Dampen a corner of the cloth with water only
- Wipe the slab surface in straight lines, not circles
No paper towels. No glass cleaner. No alcohol wipes near the label.
If residue from old tape or stickers remains, let a damp cloth sit on it for a minute to soften the glue. Then wipe gently.
Step-by-Step Hand Polishing to Remove Light Surface Scratches
Hand polishing removes light surface scratches from a card slab by leveling the plastic around the mark, not by filling it.
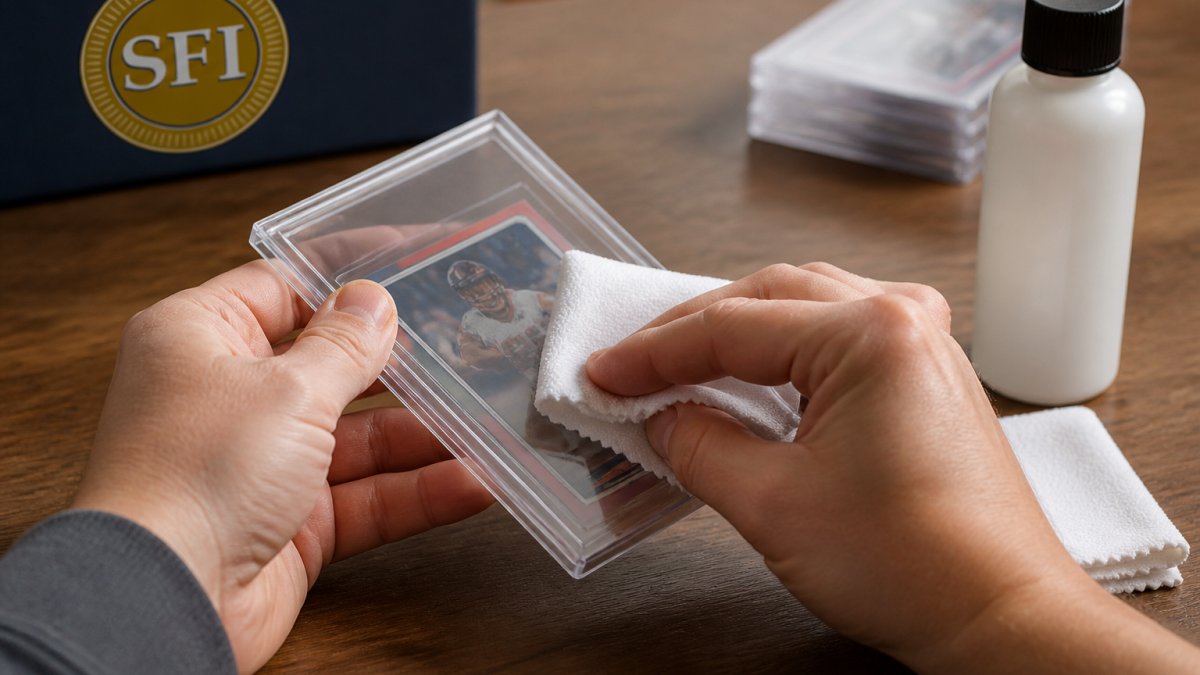
A repeatable routine tends to beat improvisation. Work through these steps:
- Clean the slab fully with water and a microfiber cloth, then let it dry completely. Any grit left on the surface becomes sandpaper under pressure.
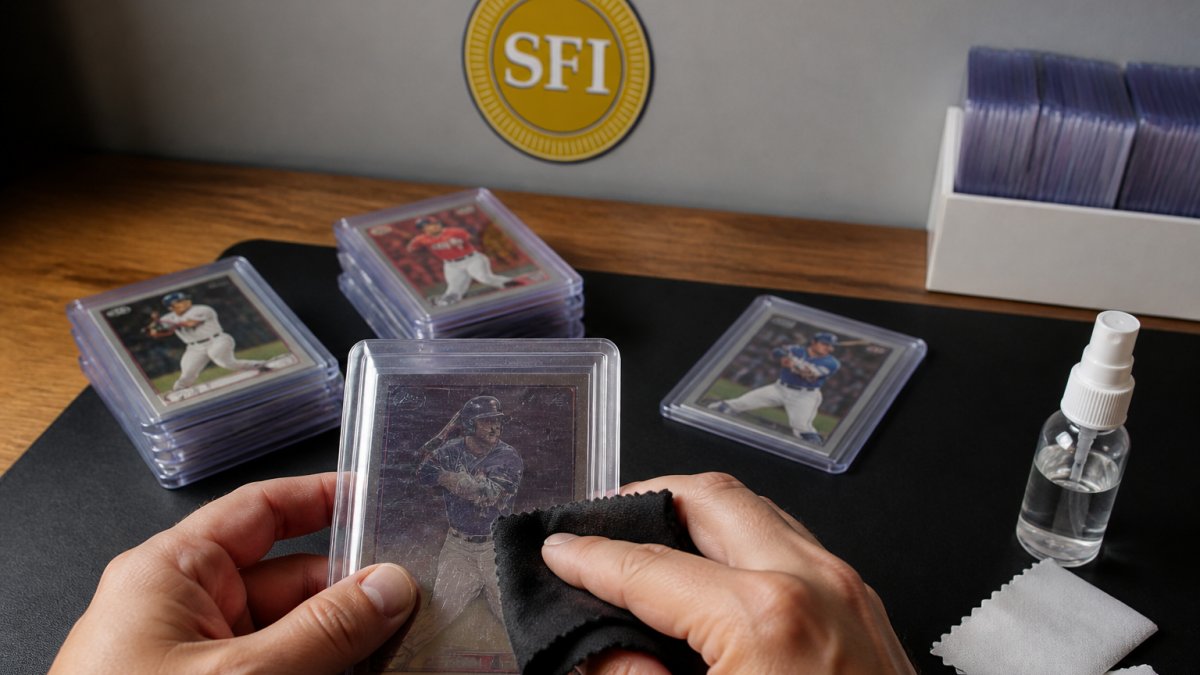
- Apply a small dot of plastic polish, roughly the size of a grain of rice, to a clean microfiber cloth, never directly on the slab. Polish applied straight to the case can pool against the seam.
- Test on a corner or the edge farthest from the label first. Rub for 10-15 seconds and wipe clean. If the plastic stays clear, proceed. If it turns milky or grabs the cloth, stop and try a different product.
- Rub the scratch in small circular motions, about the size of a quarter, with light pressure, think of the weight of your hand resting on the cloth, not pressing down.
- Check progress every 10-15 passes under a bright light held at a low angle. Low-angle light reveals scratches that vanish under overhead light.
- Wipe away residue with a clean, dry cloth and inspect the finish before adding more polish.
Expect light scratches to fade over several rounds of 10-15 passes, not disappear instantly. Deep scratches may improve but won't vanish. Stop when the shine looks even and the scratch no longer catches low-angle light.
Pressure, Cloth Choice, and Circular Motion
Use light pressure and let the cloth do the work. A clean, soft microfiber cloth is the only tool you need for hand polishing.
Cloth choice matters more than most guides admit. Use a plush, lint-free microfiber with a nap deep enough to trap abrasive residue.
Keep the motion circular and small, focused on the problem area. Then finish with a light buff across the whole surface so the gloss looks even.
A Realistic Pass Count and When to Stop
If the scratch hasn't visibly faded after five rounds, it's likely deeper than surface level, and more polishing will only thin the plastic and create haze around the damage. Stop, wipe clean, and reassess whether the mark is worth chasing at all.
Here is the hand-polishing routine at a glance, from first clean to the point where you should stop.
| Step | What to do | Time or frequency |
|---|---|---|
| 1 | Clean slab with water and microfiber cloth, dry fully | Before polishing |
| 2 | Apply rice-sized dot of polish to cloth, not slab | Each session |
| 3 | Test on corner or edge farthest from label | 10-15 seconds |
| 4 | Rub scratch in small circular motions, light pressure | Quarter-sized area |
| 5 | Check progress under bright low-angle light | Every 10-15 passes |
| 6 | Wipe residue with clean dry cloth and inspect finish | Before adding more polish |
| Stop rule | Reassess if scratch hasn't visibly faded | After five rounds |
PlastX for Card Slab Scratches: What It Can and Cannot Fix
What it handles well:
- Light surface scratches and swirl marks
- Haze and dull spots from handling
- Minor scuffs on the slab surface
What it can't do:
- Remove deep scratches that catch a fingernail
- Fix marks inside the slab or on the card
- Restore a slab that's cracked or clouded throughout
Test a small area first, since results can vary.
Rotary Tools, Heat, and Chemical Risks Near Seams and Labels
A rotary tool like a Dremel with a buffing wheel can polish a slab fast. It can also ruin one faster. The risks are real, and they're the reason most collectors should stick to hand polishing. Understanding why each risk exists is what separates a controlled pass from a ruined case.
- Heat: A buffing wheel spinning at typical rotary-tool speeds generates friction heat within seconds of contact. Clear plastic softens and can warp, cloud, or craze under sustained friction, and the damage is permanent. Heat also travels into the seam adhesive faster than you'd expect.
- Seams: The sealed edges are the slab's structural weak point. Polishing near them can weaken the bond, and polish compound pushed into the seam can dry into a visible white line that won't wipe out.
- Labels: Polish and heat near the grade label can smear ink or lift it entirely. A damaged label can affect the slab's value and, in some cases, its authenticity standing with the grading company.
How to Use a Rotary Tool Safely (If You Insist)
If you do use a rotary tool, treat it as a precision instrument, not a shortcut. A safe workflow looks like this:
- Use the lowest speed setting that still turns the pad, typically the bottom of the tool's range. Higher speeds buy you nothing but heat.
- Use a soft foam or felt polishing pad, not a stiff bristle or cutting wheel. Stiff pads scratch; soft pads polish.
- Keep a separate clean pad for each polish stage, and never reuse a pad loaded with dried compound.
- Keep the pad moving. Holding it in one spot is how heat builds. Short passes of a few seconds, then lift and check.
- Stay at least a half-inch away from seams and the label window. Mask the label edge with painter's tape if you need a physical reminder.
- Stop and let the slab cool to the touch between passes. If the plastic feels warm, you're already close to the danger zone.
When Scratches Are Too Deep and Scratched Slab Replacement Makes Sense
Some scratches are too deep to polish out. If a scratch catches your fingernail and stays visible after several polishing passes, the plastic is gouged, not just marked.
At that point, the smart move is to stop. A scratched slab that's still sealed protects the card; a slab you've over-polished may look worse and offer less clarity for display or resale.
When the case is beyond saving, a protective snap case can house the card while you decide on next steps. Our snap cases sized for PSA and CGC slabs give you a clean way to hold a replacement securely.
How to Protect Graded Card Slabs From Scratches Going Forward
Prevention beats polishing every time. Most slab scratches come from stacking, sliding, and handling, not from display. A few habits keep the slab surface clear for years.
- Store slabs upright in a case or box, never piled flat
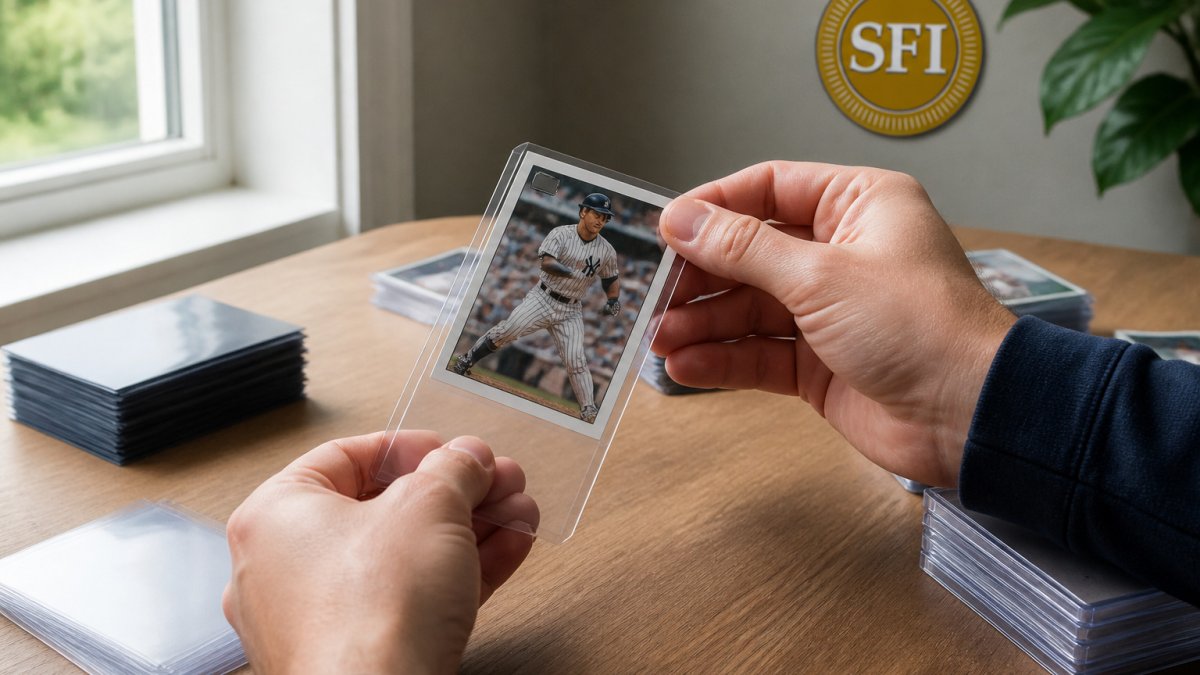
- Keep slabs in individual sleeves to separate them from each other
- Handle by the edges, not the face
A snug sleeve is the simplest defense. It puts a clear layer between the slab surface and everything else in your storage. For a proven prevention routine to keep slabs clear, see how to prevent graded slab scratches.
Choosing Sleeves That Keep Your Slabs Clean and Clear
The right sleeve does two jobs: it shields the slab surface from scuffs and scratches, and it keeps the display looking sharp. Not all sleeves do both. Thin, loose sleeves trap dust and let the slab shift, which causes the very scuffs you're trying to avoid.
Archival-grade material matters here. Acid-free, archival plastics resist yellowing and fogging over time, so the sleeve stays clear instead of clouding your view of the card. Fit matters just as much.
We built Superior Fit Sleeves around exactly this problem. If you're weighing materials, our comparison of archival-grade versus standard sleeves explains the difference, and our crystal-clear slab sleeve buyer's guide covers the options in detail. For graded slabs specifically, our Graded Card Slab Sleeves are cut to fit snugly and keep the surface shielded between polishing sessions.
Frequently Asked Questions
Can scratches be removed from graded card slabs?
Light surface scratches and scuffs in the plastic can often be reduced with a plastic polish applied by hand, using a microfiber cloth and light pressure in a circular motion. Deep scratches that catch a fingernail usually cannot be polished out without distorting the plastic. Always test a small area first and stop if the slab surface starts to haze or feel warm.
Does PlastX remove scratches from card slabs?
Apply a small amount to a microfiber cloth, work it in with light pressure, and wipe clean. Keep it away from seams and the label area, and test on a corner before treating the full face.
Can polishing a slab damage the card inside?
Polishing the exterior plastic does not touch the card, but heat and chemical seepage can. Rotary tools and buffing wheels generate heat fast, which can warp plastic or loosen seams. Liquids can wick into seams and reach the label or card. Hand polishing with light pressure and minimal product is the low-risk approach, and you should avoid polishing near seams or labels entirely.
When is it better to replace a scratched slab than polish it?
If a scratch is deep enough to catch a fingernail, if the slab has cracks or seam damage, or if polishing has already dulled the clarity, replacement is the safer choice. Polishing cannot restore plastic that has been gouged or structurally compromised. For valuable cards, a fresh grading submission protects both the card and its presentation better than a heavily polished slab.
Scratched slabs are frustrating, but the fix is usually simpler than collectors expect: diagnose first, clean thoroughly, polish lightly, and know when to stop. The bigger win is keeping new scratches off your slabs in the first place. Superior Fit Sleeves offers archival-grade, acid-free sleeves with a precision fit for PSA, BGS, SGC, and CGC slabs, so your cases stay clear and protected. Get started with Superior Fit Sleeves and give every slab a clean, snug layer of protection.