 How-to
Why My Card Slabs Look Blurry: Fixes & Photo Tips
Last Updated: October 22, 2026
Quick Summary
Your card slabs look blurry usually because of the plastic, not the card: surface scratches, dust and fingerprints scatter light, while glare and reflections off the flat slab face wash out the image. Scanner focus distance and the sleeve around the slab can add haze too, so why my card slabs look blurry often comes down to lighting, cleaning and focus.
- Glare is the number one reason a blurry image appears when the slab itself is fine.
- Clean slabs with a microfiber cloth and skip alcohol and acetone, which can cloud plastic.
- A flatbed scanner focuses on the glass, so a thick slab sits outside its focus point.
- Light from the sides at roughly 45 degrees and tap to focus on the card, not the plastic.
- Run the tilt, raking-light and magnification tests before blaming the slab or card.
Table of Contents
- Why My Card Slabs Look Blurry: The Common Causes
- How to Clean Graded Card Slabs Safely
- How to Scan Graded Cards Without Losing Clarity
- How to Photograph Graded Cards for Sharp Listing Photos
- Graded Card Sleeve Clarity: Why the Outer Layer Matters
- Print Defects vs. Slab Artifacts: Telling Them Apart
- When to Contact the Grading Service or Request a Reholder
- Conclusion
- Frequently Asked Questions
Why My Card Slabs Look Blurry: The Common Causes
If you've ever pulled up a photo of a graded card and wondered why my card slabs look blurry, you're not alone.
A card slab is a sealed plastic holder that encases a graded card. That extra layer of plastic sits between your camera and the card surface.
Below, we'll show you exactly how to find the culprit and fix it.
Surface Problems: Scratches, Haze, and Debris
The outside of a card case takes a beating. Every time you slide a slab in and out of a box, it picks up fine scratches.
Debris makes it worse. Dust, fingerprints, and tiny fibers sit right on the surface.
Look for these signs:
- Fine swirl marks across the front window
- A dull, hazy patch that won't wipe off
- Dust specks trapped near the edges
A common mistake is scrubbing the slab with a rough cloth. That adds more scratches. We'll cover the safe cleaning method in a moment.
Optical Problems: Glare, Reflection, and Viewing Angle
Glare is the number one reason a blurry image shows up when the slab itself is fine. The flat plastic face acts like a mirror.
That reflection washes out part of the card and tricks your eye into reading it as blur. Change your viewing angle and the "blur" often vanishes.
Watch for these:
- A bright band or hotspot across the card
- Your own reflection or phone silhouette in the plastic
- A washed-out zone that shifts when you move
The fix is simple: move the light, not the card.
How to Clean Graded Card Slabs Safely
Cleaning a card slab is safe if you use the right tools and skip the harsh stuff. The goal is to lift dust and oils without adding scratches or haze.
Here's the safe routine:
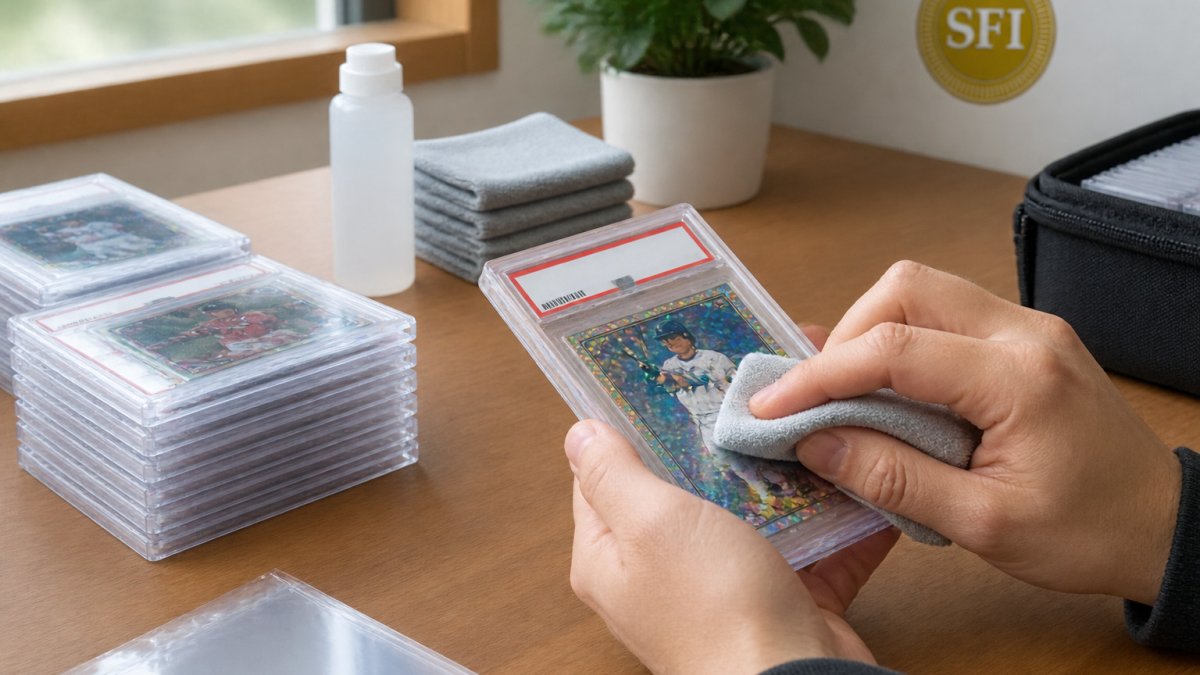
- Wipe with a microfiber cloth first. Dry, gentle circles lift loose dust.
- Breathe on a smudge, then buff. Light condensation plus microfiber handles most fingerprints.
- Use a plastic-safe cleaner sparingly. Spray the cloth, never the slab. Avoid paper towels and tissues, which shed fibers and scratch.
- Skip alcohol and acetone. These can cloud or craze the plastic over time.
A clean plastic holder photographs sharper because there's less to scatter light. If a scratch won't come out, that's surface damage, not dirt. Move on to the lighting and scanning fixes below.
How to Scan Graded Cards Without Losing Clarity
Scanning a graded card on a flatbed scanner is where a lot of blur starts. The problem is focus distance. A scanner is built to focus on items pressed flat against the scanner glass.
Here's how to scan graded cards with better clarity:
- Accept the gap. You can't flatten a slab against the glass without risking the card.
- Scan the slab face-down and let the lid rest gently. Don't press hard.
- Clean the scanner glass first. Dust on the glass reads as blur too.
A CCD scanner handles depth a little better than a basic contact sensor, but no flatbed is built for thick plastic. For truly sharp results, photography usually beats scanning on slabs.
Scanner Settings That Actually Matter
Settings won't fix the focus gap, but they sharpen what you get. Use these:
- Resolution: scan at the highest optical setting your scanner offers
- Color mode: 24-bit color, not grayscale
- Sharpening: off in the scanner, on later in editing
| Setting | What to Choose | Why It Helps |
|---|---|---|
| Resolution | Max optical | More detail to work with |
| Color mode | 24-bit color | Truer card colors |
| Sharpening | Off | Avoid halos and artifacts |
| Descreen | Off | No print-pattern blur |
How to Photograph Graded Cards for Sharp Listing Photos
For sharp listing photos, a camera beats a scanner every time. You control the light, the angle, and the focus. Here's how to photograph graded cards cleanly.
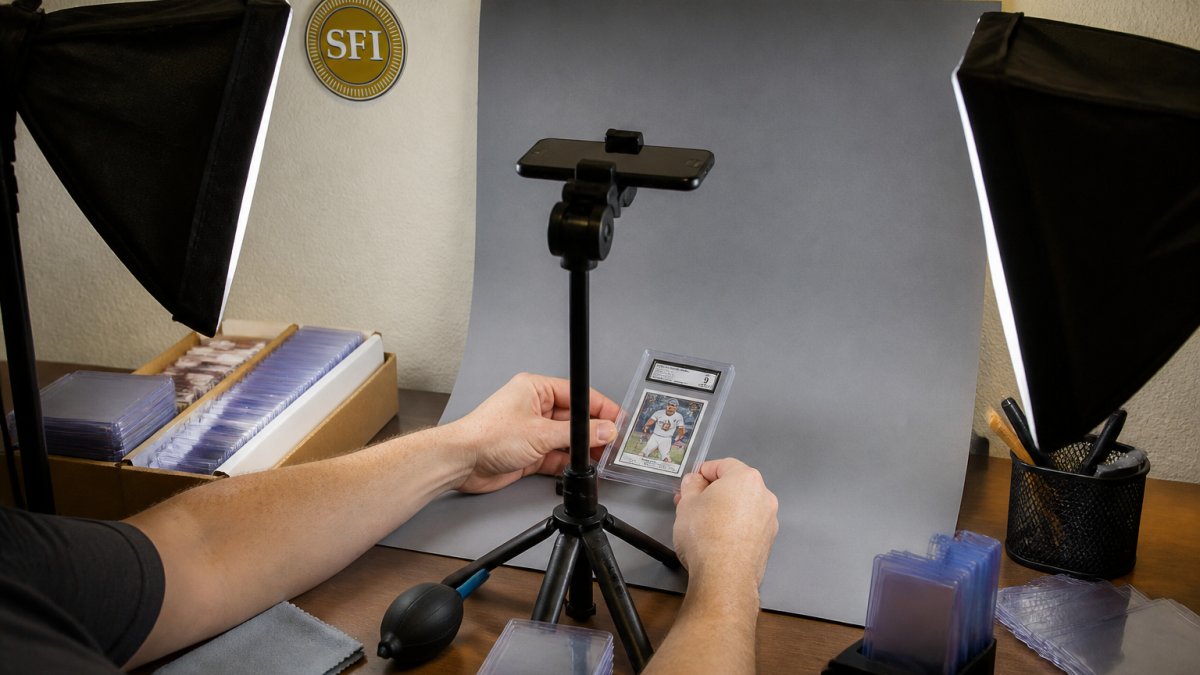
Set up like this:
- Use a neutral backdrop. Gray or black card stock kills stray reflections.
- Light from the sides. Two soft lights angled at roughly 45 degrees keep glare out of the lens.
- Shoot straight down. A tripod or overhead mount keeps the slab parallel to the lens.
- Tap to focus on the card, not the plastic. This is the key step most people miss.
- Lock focus and exposure. Then shoot. No handheld wobble.
Graded Card Sleeve Clarity: Why the Outer Layer Matters
Here's the part most guides skip: the sleeve you store the slab in can affect image clarity too.
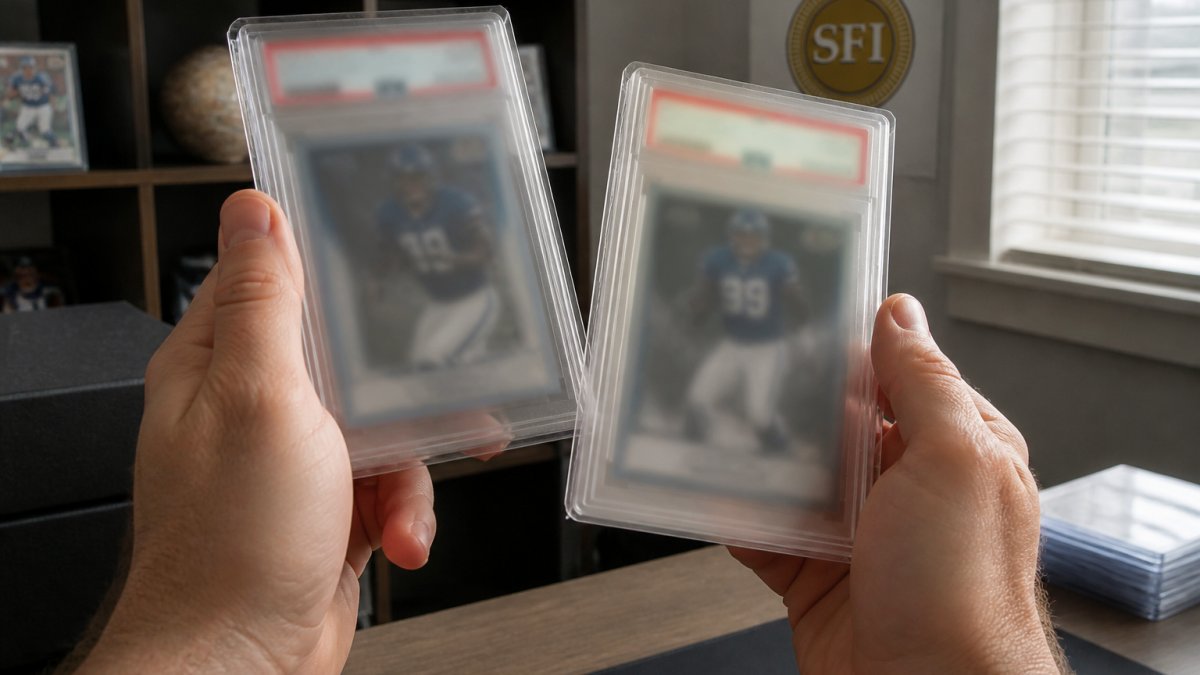
Cheap sleeves fog, yellow, or wrinkle over time. Mylar and low-grade films can develop wrinkles or a hazy cast that shows up in every photo.
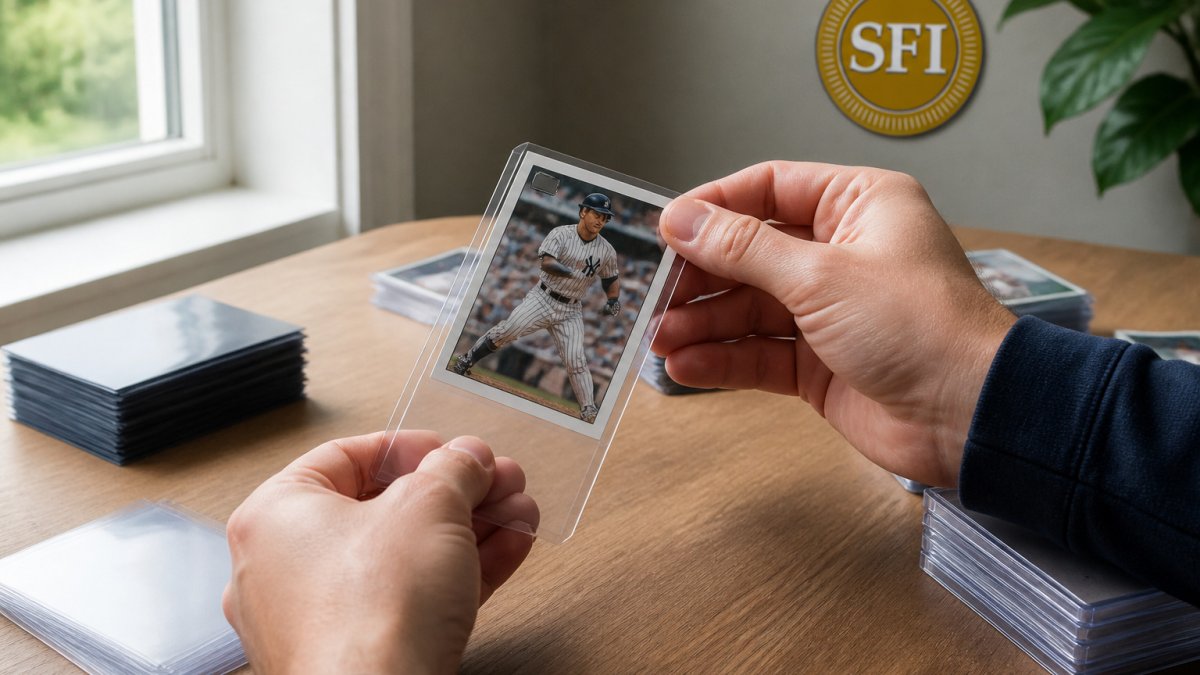
This is where Superior Fit Sleeves comes in. We make precision-cut, ultra-clear sleeves for graded slabs, including PSA, BGS, SGC, and CGC holders.
Print Defects vs. Slab Artifacts: Telling Them Apart
Not every soft spot is a slab problem. Some cards have print lines, ink misprints, or fuzzy edges baked in at the factory.
Most guides tell you to tilt the slab and see if the blur moves. That is a start, but it does not separate a print defect from a scratch, a reflection, or a wrinkle in the inner film.
Test 1: The Tilt Test (separates surface from card)
Hold the slab under one light and tilt it slowly through a range of angles.
- The mark moves, brightens, or disappears as you tilt: it lives on the plastic surface. That is glare, a scratch, or haze.
- The mark stays locked to the same spot on the card art at every angle: it is on or in the card. That points to a print defect or something sealed inside the holder.
Test 2: The Raking-Light Test (separates surface scratch from inner film)
Lower the light until it skims across the window at a shallow angle.
- Bright streaks that follow the direction you wiped: surface scratches on the outside of the case.
- A wavy, rippled, or lifted patch that looks like plastic wrap: a wrinkle in the inner film. This is sealed inside and cannot be cleaned away.
- A speck with a tiny shadow under it: debris trapped inside the holder.
Test 3: The Magnification Test (separates print defect from case defect)
Use a jeweler's loupe or a phone macro mode and look at the mark itself.
- A thin, straight line running across the art, often in one color: a print line from the factory press. It is part of the card.
- A soft, feathered border where one ink color stops short of another: an ink misprint or registration issue. Also part of the card.
- A fuzzy edge on the card border that looks slightly out of register: a print issue, not blur.
Quick Reference
| What You See | Where It Lives | What It Means |
|---|---|---|
| Mark shifts with tilt | Outer plastic surface | Glare or surface scratch; clean and relight |
| Wavy patch that will not wipe off | Inner film | Sealed wrinkle; needs professional review |
| Speck with a shadow | Inside the holder | Trapped debris; needs professional review |
| Thin straight line across art | Card surface | Print line; part of the card |
| Feathered color edge | Card surface | Ink misprint; part of the card |
| Sharp gouge | Outer plastic surface | Deep scratch; cannot be cleaned out |
Document What You Find
If a test points to an inner-film wrinkle, trapped debris, or an inside scratch, photograph it under raking light before you do anything else.
A fuzzy edge on the card border is usually a print issue. A soft patch that shifts with the light is a slab or lighting artifact. Run the three tests, and you will know which one you are looking at before you panic.
When to Contact the Grading Service or Request a Reholder
Sometimes the problem is inside the slab. If you spot debris, a wrinkle in the inner film, or a scratch on the inside of the card case, no amount of cleaning will fix it.
Reach out if you see:
- Dust or hair sealed inside the holder
- A wrinkled or lifted inner film
- A crack or scratch on the inside face
Most grading services offer a reholder service to move the card into a fresh holder. Ask about it before you ship. Keep your original paperwork and photos of the issue.
Conclusion
A blurry slab photo is frustrating, but it's almost always fixable. Check the surface, control the glare, respect the scanner's focus limits, and shoot with side lighting. Then make sure the sleeve around your slab isn't adding haze of its own.
If you want a clean, distortion-free outer layer that keeps your graded cards looking sharp in hand and on camera, Superior Fit Sleeves has you covered.
Frequently Asked Questions
Why does my graded card slab look blurry?
Most blur comes from the surface in front of the card, not the card itself. Scratches, haze, fingerprints, dust, and dried residue on the plastic holder scatter light and soften the image. Glare and reflection from a lamp or window add a second layer of distortion. Less often, the blur sits inside the slab as inner-film wrinkles or debris sealed in during encapsulation. Wipe the outside first, change your lighting angle, and if the softness stays in the same spot, the issue is inside the case.
Can a protective sleeve make a card slab look cloudy or blurry?
Yes, if the sleeve is made from low-grade film. Cheap sleeves fog, yellow, and pick up fine surface scratches that scatter light before it reaches the slab. Graded card sleeve clarity depends on the material: archival-grade, acid-free film stays clear and does not haze over time. A snug, precision-cut sleeve also prevents the loose wrinkles and gaps that trap dust. If your images went soft after sleeving, pull the slab out and compare the same shot bare.
How do I clean a graded card slab without damaging it?
Use a microfiber cloth and a small amount of distilled water or a plastic-safe cleaner. Wipe in straight lines, not circles, and never spray directly on the slab. Keep liquids away from the label edge and the sealed seam, since moisture can wick inside. Skip paper towels, acetone, alcohol-heavy solvents, and abrasive polishes, which dull the plastic. Clean under bright, angled light so you can see haze and residue as you go, then dry fully before scanning or photographing.
How do I scan a graded card without losing clarity?
A flatbed scanner has a fixed focus point right at the glass, so a thick slab lifts the card surface out of focus. Press the slab flat against the glass, scan at 600 dpi or higher, and keep the lid closed to cut stray light. For sharper results, place the slab face down and scan the back, or photograph it instead. If you need a high-resolution scan, a CCD scanner with adjustable focus handles slab thickness better than a fixed-focus unit. Clean the scanner glass before every session.
Ready to protect your slabs without adding blur? Explore Superior Fit Sleeves and see the clarity difference for yourself.