 how-to
Preventing Slab Scuffs During Transport: 7 Steps
Table of Contents
- Step 1: Clean Slabs and Contact Surfaces Before Packing
- Step 2: Use Graded Card Slab Sleeves as a First Defense
- Step 3: Separate and Pad Slabs to Prevent Rub Marks
- Step 4: Load and Secure Slabs in Racks and Cases
- Step 5: Transporting Graded Cards Safely by Vehicle and Hand
- Step 6: Packing Graded Cards for Shipping Without Transit Scuffs
- Step 7: Inspect for Slab Scuffs and Document Damage After Arrival
- Conclusion: Make Scuff Prevention a Routine, Not a Rescue
- Frequently Asked Questions
Last Updated: October 8, 2026
Step 1: Clean Slabs and Contact Surfaces Before Packing
Preventing slab scuffs during transport starts before anything touches a box. Grit is the enemy. A single grain of sand trapped between a slab and a padded surface will grind a scuff mark into the plastic every time the case shifts. Maintaining a pristine surface requires equal attention to the internal support structures, as preventing shipping creases in the underlying batting is just as critical to the long-term preservation of the slab.
So clean first. Wipe each slab face with a soft cotton cloth. Use a fresh cloth per slab if you can. Then vacuum the rack, the case, and the vehicle floor where the load will sit. Dirt and debris hide in seams and carpet fibers.
Here is the routine we recommend before every move:
- Wipe both slab faces and all four edges
- Check corners for embedded grit
- Vacuum racks, trays, and transport cases
- Sweep or vacuum the loading route and vehicle bed
- Wash and dry your hands before handling slabs
This step takes minutes. It prevents the most common cause of abrasion damage we see.
Step 2: Use Graded Card Slab Sleeves as a First Defense
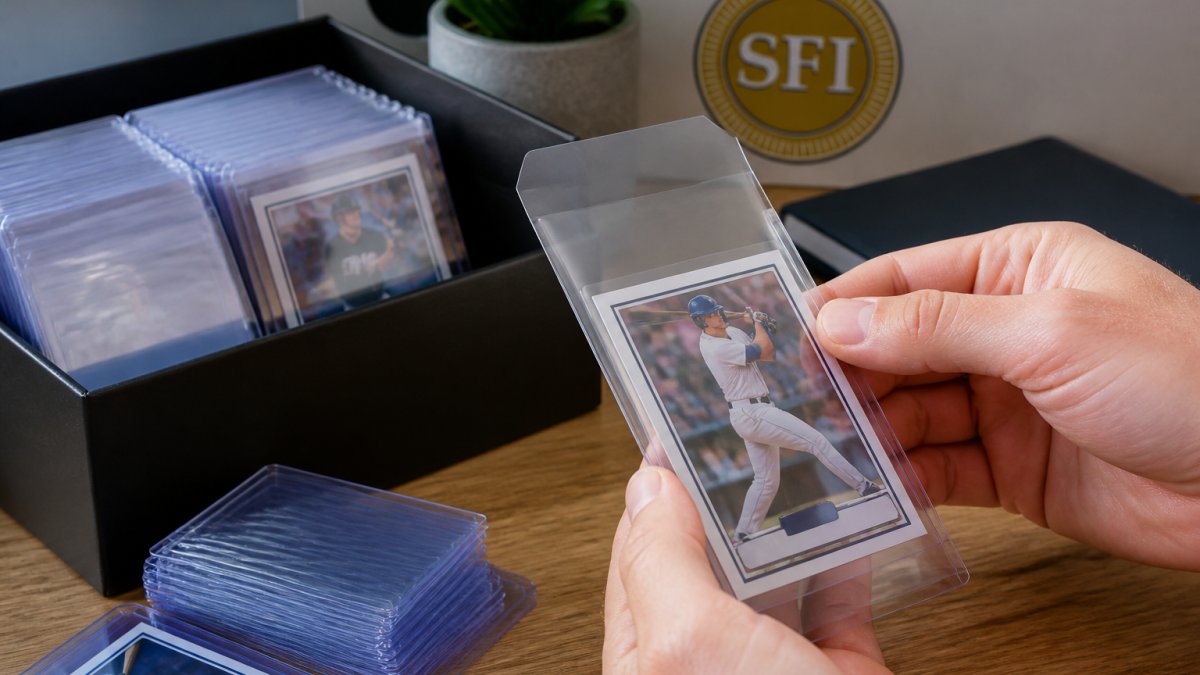
Graded card slab sleeves are tight-fitting plastic covers that shield a slab's face and edges from contact damage during handling and transport. They add a sacrificial layer between your case and everything it touches.
At Superior Fit Sleeves, we have made precision-cut, archival-grade sleeves since 2014. Our tapered, resealable design fits slabs snugly with zero excess bulk, so the sleeve stays put instead of sliding loose.
Why does that matter for transport? A loose cover shifts and traps grit. A snug one stays sealed. Our sleeves fit PSA, BGS, SGC, and CGC slabs, plus top-loaders and magnetic cases.
For a deeper look at how graded card protectors work across slab brands, the fit is the whole game.
Library of Congress guidance on archival storage materials
Step 3: Separate and Pad Slabs to Prevent Rub Marks
Slabs that touch will rub. Vibration during transport makes plastic grind against plastic, and that is how rub marks and scuff marks appear on a case face.
Separate every slab with a soft barrier. Good options include:
- Cotton cloth squares between slab faces
- Acid-free paper or foam padding
- Corrugated cardboard dividers cut to slab size
- Protective mats lining the base of the case
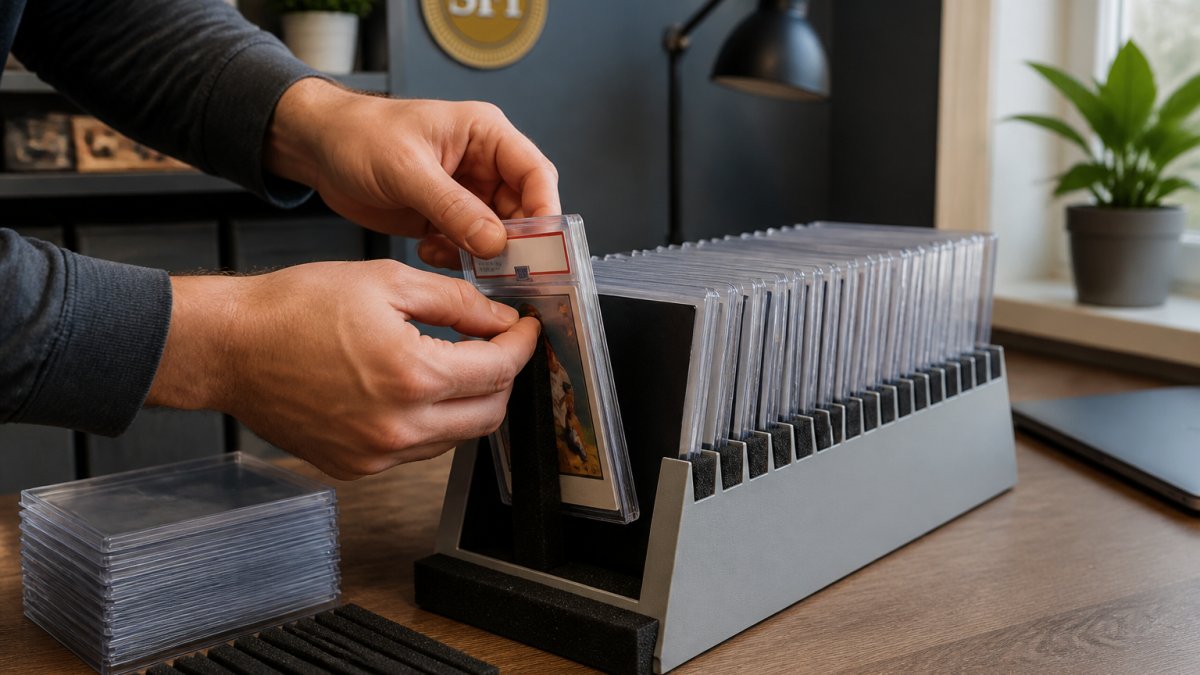
Never stack bare slabs face to face. Add padding on the outer edges too, where corners take the hardest hits.
Step 4: Load and Secure Slabs in Racks and Cases
How you load a case decides how much it moves. Loose slabs slide, and sliding slabs scratch.
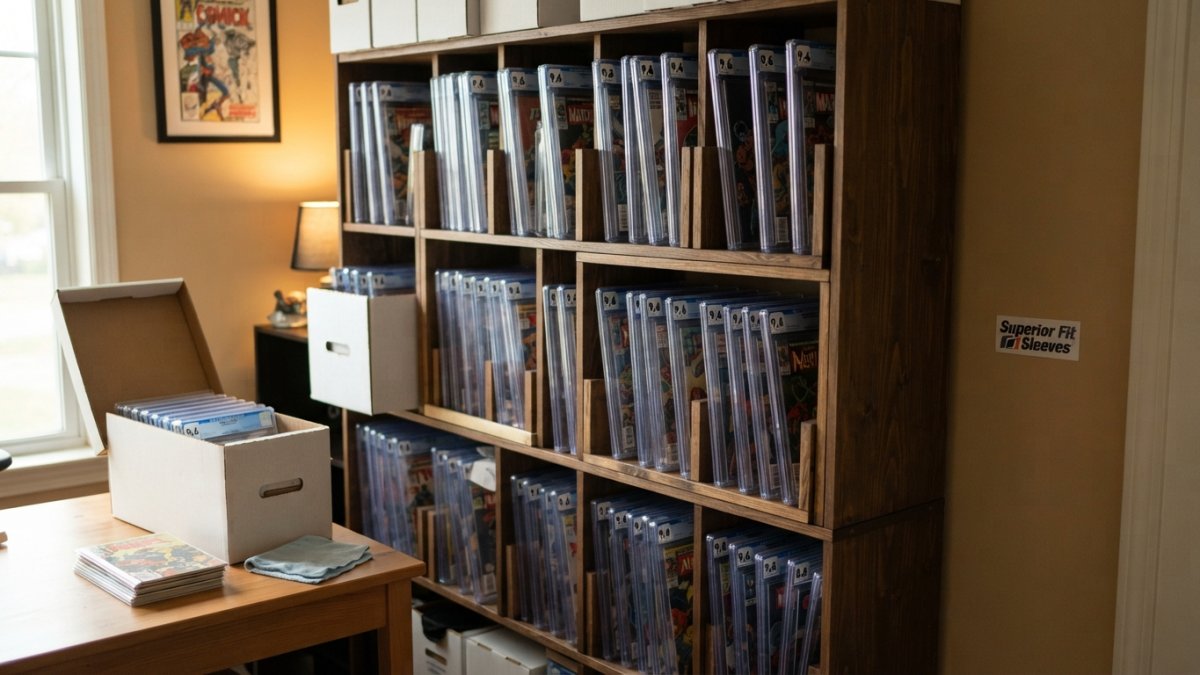
Load upright, on edge, in an A-frame. Slabs stored flat stack their weight on the bottom case’s face, and any grit between two faces gets pressed in under load.
Match the rack to the slab. PSA, BGS, and CGC slabs differ in thickness and outer dimensions, and a rack cut for one brand will let another brand rattle.
Restrain in three directions. A single strap across the top of a rack won’t stop anything. You want:
- A strap or foam block against the front and back of the stack so slabs cannot slide forward or back
- Side blocks or a snug rack wall so the stack cannot lean left or right
- A strap over the top of the rack, anchored to the vehicle or cart, so the whole unit cannot tip
Pad the contact points, not the whole load. Foam or felt on the rack rails, the base, and any strap that touches a slab face is enough.
Keep heavy items off the top. A slab case is not a shelf.
Re-check tension before you move and again at the first stop. Straps stretch, foam compresses, and a load that was snug in the driveway can be loose after ten minutes of driving.
Step 5: Transporting Graded Cards Safely by Vehicle and Hand
Transporting graded cards safely means controlling every move, from the shelf to the vehicle and back out again.
Use the right handling equipment. A slab cart, lifting clamp, or forklift attachment with padding removes hand contact and reduces the chance of a drop. For smaller loads, carry cases flat and close to your body.
Plan the route before you lift anything. Clear the path. Check for door frames, tight corners, and uneven flooring. A scraped door frame is annoying. A dropped case is worse.
For vehicle transport:
- Lay cases flat on a padded surface
- Block them so they cannot slide
- Avoid stacking cases on hard objects
- Drive the route you scouted, not a shortcut
One thing most guides miss: door frames and thresholds cause more edge nicks than the road does. Pad them or widen the path.
Step 6: Packing Graded Cards for Shipping Without Transit Scuffs
Packing graded cards for shipping follows the same logic as a local move, just with more padding and less control.
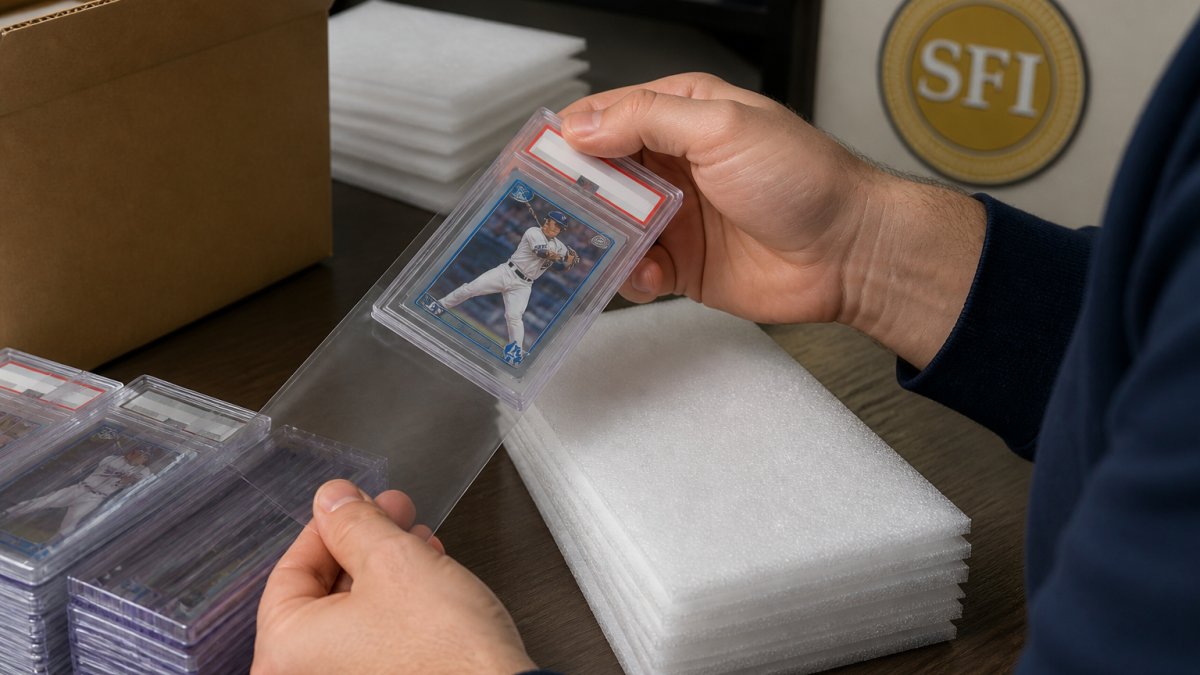
Start with the slab in its sleeve. Wrap it in bubble wrap or foam, then place it in a rigid box, padding all six sides. The slab should not move when you shake the box.
Then:
- Fill empty space with packing paper or foam
- Tape every seam
- Mark the box fragile and this side up
- Use a box big enough to hold padding, not one that barely fits
Materials matter here. Cardboard alone will not stop vibration. Pair a rigid outer box with soft inner padding and you cover both.
Step 7: Inspect for Slab Scuffs and Document Damage After Arrival
Inspection is not one event. It is a before-and-after pair, and the 'before' half is the part almost every guide skips. Without a pre-loading record, you cannot tell a scuff from transit from one that was already on the case when you packed it, and that distinction determines whether a carrier claim, an insurance claim, or a buyer dispute goes anywhere.
Before you load: build the baseline.
- Photograph each slab face and all four edges in even, indirect light. Angled light from a single side reveals fine surface scratches that flat overhead light hides.
- Include a card or slip with the date in at least one frame per slab, or shoot the whole batch in one session so the file timestamps line up.
- Note any pre-existing marks in writing; a short list per slab is enough. 'Top-left corner, light scuff' is more useful than a paragraph.
- Keep the baseline photos somewhere you can access them on your phone, not just on the device you are shipping from.
On arrival: inspect before you unpack fully.
Work in good light with clean hands, and handle slabs by the edges. Check in this order:
- Outer packaging, dents, crush marks, water staining, tape that has been cut and re-sealed
- Sleeve or wrap, whether it shifted, tore, or trapped grit against a face
- Slab faces: tilt each one under a light source and look across the surface, not straight down at it
- Edges and corners: the four corners take the hardest hits and chip or scuff first
- Compare against the baseline photos, slab by slab
Document immediately, not later. Memory fades, and you’ll throw out the packaging. If you find damage:
- Photograph the slab, the specific mark, and the packaging as it arrived, before you remove anything
- Note the date, time, and location of receipt
- Keep the original box, padding, and any carrier labels
- Save the baseline photos alongside the arrival photos so the comparison is one file set
- File with the carrier promptly; most carriers set short windows for reporting concealed damage, and the baseline photos are what make the claim credible
Distinguish transport damage from pre-existing marks. A scuff that appears in the arrival photos but not the baseline is transport damage. A mark that shows up in both is pre-existing, and no claim will succeed on it. This is the single most common reason claims fail, and a two-minute baseline makes it entirely avoidable.
If a scuff does occur, do not attack it. A light surface mark on a plastic case can sometimes be improved with a soft, barely damp microfiber cloth and a gentle circular wipe, no abrasives, solvents, or polishing compounds, which can haze the case and destroy its clarity.
Conclusion: Make Scuff Prevention a Routine, Not a Rescue
Scuff prevention is a habit, not a cleanup job. Clean contact surfaces, sleeve every slab, pad the gaps, secure the load, and inspect on arrival. Do those five things, and most transport damage won’t happen.
At Superior Fit Sleeves, we build the first line of that defense. Our archival-grade, acid-free sleeves fit PSA, BGS, and CGC slabs snugly and offer an ultra-clear view that protects the case and the display. Browse our graded card slab sleeves and top-loader sleeves to match your collection.
Get started with Superior Fit Sleeves and move your collection with confidence.
Frequently Asked Questions
How do you prevent graded card slabs from getting scratched?
Clean the slab with a soft cotton cloth before anything touches it, because dust and grit are the main cause of fine scratches. Put each slab in a fitted graded card slab sleeve so the plastic never contacts another hard surface directly. Store and carry slabs in an A-frame rack or padded case rather than loose in a box, and keep a layer of foam or soft material between slabs. Those four habits, clean surfaces, sleeving, padding, and a dedicated rack, stop most scuffs before they start.
What is the safest way to transport graded cards?
Hand-carry slabs upright in a padded case or A-frame rack that holds each one in its own slot, and never stack them flat where they can slide. Set the case on the floor or a seat, not a loose trunk shelf, and avoid leaving it in a hot vehicle. For longer moves, line the container with foam, fill empty space so nothing shifts, and drive smoothly. Vibration and sliding cause most transport scuffs, so the goal is to keep every slab still and separated.
Should graded card slabs be sleeved before transport?
Yes. A fitted sleeve adds a clear barrier between the slab surface and anything it touches, including other slabs, rack edges, and packing material. Look for archival-grade, acid-free sleeves cut to fit the exact slab dimensions, since a loose sleeve lets grit work its way in and a tight one keeps the surface covered. Sleeves also reduce scuffing during handling and display, not just transport. Check the fit for PSA, BGS, CGC, and other major holders before a big move.
How should you pack graded slabs for shipping?
Wrap each slab in a fitted sleeve, then add a soft layer such as bubble wrap or foam around it. Stack no more than a few slabs together, with padding between each one, and place the bundle in a rigid box with at least 2 inches of cushioning on every side. Fill all empty space so the contents cannot shift, and seal the box with reinforced tape. Mark the package fragile and choose a carrier with tracking. This keeps vibration and impact away from the slab faces during transit.
- clean surfaces, sleeving, padding, and a dedicated rack-